by segareplay.com | Mar 13, 2026 | Scans
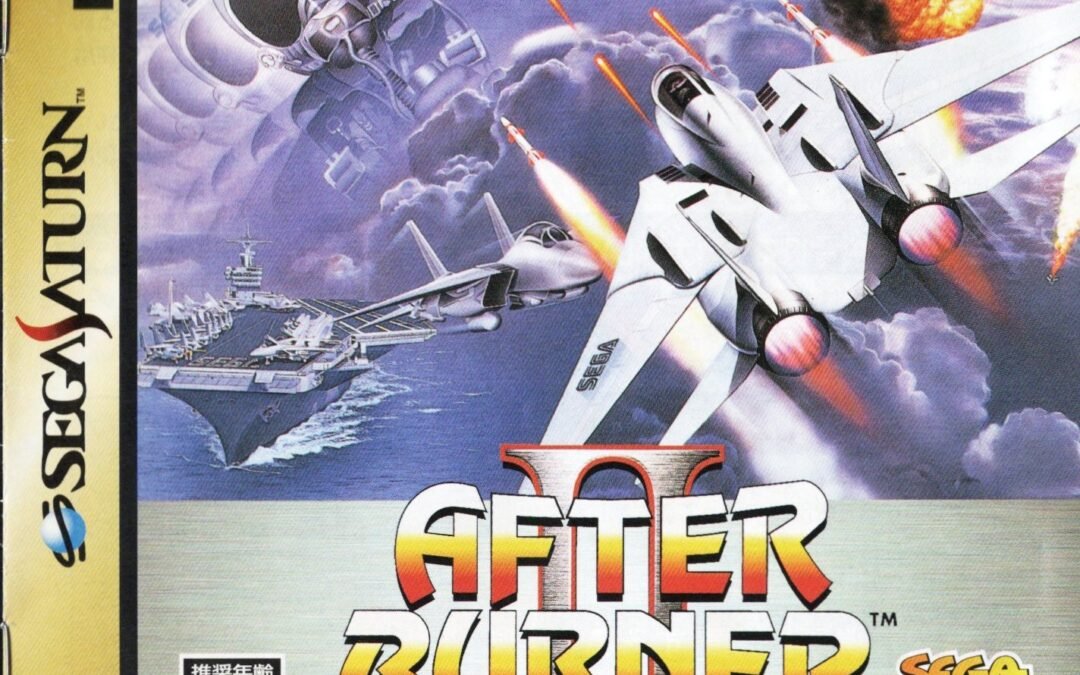
Hello everyone! A customer requested a reprint of the After Burner II Japanese game manual. Unfortunately, it is not available online in any public archive. When feasible, I like to correct this for others to use in the future. In this case it was and I obtained the original game from Japan and have scanned in the contents for free use!
If you have a Japanese game manual for an old Sega console that is not available online, feel free to share it with me and I’ll happily host it here.
Click link to download the PDF for: After Burner II Japanese Game Manual (Sega Saturn)


by segareplay.com | Aug 15, 2025 | Tutorials
This tutorial is courtesy of our supplier, so we cannot take credit! You will need a precision cutting tool, soldering iron, and the skills to use them.

by segareplay.com | Apr 8, 2025 | Blog, Information, Tutorials
The Sega Saturn holds a special place in my heart, being tied with the Sega CD as the console I spent the most time with back in my youth. I’ve been fortunate with my original Model 2 hardware working perfectly all these years later. This is representative of the fact that at the time of it’s production, Sega was flush with cash and used top-quality components in its construction. As a result, failures on systems which have been well cared for are fortunately less common than newer consoles (relatively speaking) like the Dreamcast, Playstation, and Xbox which had resorted to lower-quality components in an era of tight profit margins and increased competition. Regardless of the quality of components, the hardware is at least 25 years old at this point and will inevitably begin to fail, or quite outright at some point.
If you are reading this article with respect to playing reproduction discs, be sure that you are using high quality discs and a quality burner. Additionally, be sure that your settings in the burning software are set correctly. This is too detailed of a topic to go into in this article but tons of online resources exist regarding this and we will address the ins and outs of creating your own reproductions in a future article. If you purchased your disc from a retro reproducer, ask them if they are testing their discs in OEM hardware prior to shipping. Many only use checks done by a PC and our experience is that this method can and will miss burn issues which can only be caught by testing on a good old fashioned console.
Let’s explore potential problems and solutions to disc reading issues:
Why does my Sega Saturn read original games but not all reproductions?
This is the first sign of your laser getting weak. Original titles were “pressed” at the factory and are easier to read than a “burned” disc. Unfortunately, disc pressing is out of reach of modern reproducers due to the prohibitive cost of the equipment along with the unavailability of the required “master disc” to make newly pressed discs.
Solution 1: Any laser-based console should be routinely cleaned. Be sure that your CD-ROM drive is free of dust and debris. Next, using a microfiber cloth or q-tip, clean the compartment and laser itself using rubbing alcohol. Be careful not to press too hard on the laser lens. Any dust or smudges can interfere with reading game discs.
Solution 2: The first step that might fix this problem is re-calibrating the laser. This involves opening the hardware and using a screwdriver to increase the potentiometer (known as a “POT”) to increase the intensity of the laser (think; “power”). This is a short-term solution but can get some more life out of the hardware before the laser completely fails. This is not full-proof and you’ll want to watch a tutorial on Youtube to make sure you do this correctly, but it’s not overly complicated and can be accomplished by most users.
Solution 3: The ultimate solution is to replace the laser pickup unit itself. Additionally, given the age of the hardware, capacitors may need replaced as well and is highly recommended. Eventually, if gone unreplaced, the capacitors will begin to leak which can cause irreparable harm to the hardware. For this solution, we recommend sending your console off to a repair service.
Why does my Sega Saturn not read games anymore but still powers on and spins the disc?
This can be cause by several issues. The most likely cause is your laser has gotten weak enough to require re-calibration or outright replacement. However, basic maintenance might help so that is always the first place to start.
Solution 1: Any laser-based console should be routinely cleaned. Be sure that your CD-ROM drive is free of dust and debris. Next, using a microfiber cloth or q-tip, clean the compartment and laser itself using rubbing alcohol. Be careful not to press too hard on the laser lens. Any dust or smudges can interfere with reading game discs.
Solution 2: The first step that might fix this problem is re-calibrating the laser. This involves opening the hardware and using a screwdriver to increase the potentiometer (known as a “POT”) to increase the intensity of the laser (think; “power”). This is a short-term solution but can get some more life out of the hardware before the laser completely fails. This is not full-proof and you’ll want to watch a tutorial on Youtube to make sure you do this correctly, but it’s not overly complicated and can be accomplished by most users.
Solution 3: The ultimate solution is to replace the laser pickup unit itself. Additionally, given the age of the hardware, capacitors may need replaced as well and is highly recommended. Eventually, if gone unreplaced, the capacitors will begin to leak which can cause irreparable harm to the hardware. For this solution, we recommend sending your console off to a repair service.
Why does my Sega Saturn not read games anymore and no longer spins the disc?
This can be cause by several issues. Several issues can cause this including failed capacitors, power supply, or laser pickup.
Solution: Due to the complexity of this issue, we recommend sending your unit to a reputable repair service for troubleshooting and repair.
Final Thoughts
The Sega CD is wonderful and perhaps the most underrated console of all time. However, age catches up to all electronics no matter how good the quality and how well it was cared for. Keep this in mind when troubleshooting your system and if dealing with a repro shop.
by segareplay.com | Apr 8, 2025 | Blog, Information, Tutorials
The Sega CD holds a special place in my heart, being tied with the Saturn as the console I spent the most time with back in my youth. I’ve been fortunate with my original Model 2 hardware working perfectly all these years later. This is representative of the fact that at the time of it’s production, Sega was flush with cash and used top-quality components in its construction. As a result, failures on systems which have been well cared for are fortunately less common than newer consoles (relatively speaking) like the Dreamcast, Playstation, and Xbox which had resorted to lower-quality components in an era of tight profit margins and increased competition. Regardless of the quality of components, the hardware is at least 30 years old at this point and will inevitably begin to fail, or fail outright at some point.
If you are reading this article with respect to playing reproduction discs, be sure that you are using high quality discs and a quality burner. Additionally, be sure that your settings in the burning software are set correctly. This is too detailed of a topic to go into in this article but tons of online resources exist regarding this and we will address the ins and outs of creating your own reproductions in a future article. If you purchased your disc from a retro reproducer, ask them if they are testing their discs in OEM hardware prior to shipping. Many only use checks done by a PC and our experience is that this method can and will miss burn issues which can only be caught by testing on a good old fashioned console.
Let’s explore potential problems and solutions to disc reading issues:
Why does my Sega CD read original games but not all reproductions?
This is the first sign of your laser getting weak. Original titles were “pressed” at the factory and are easier to read than a “burned” disc. Unfortunately, disc pressing is out of reach of modern reproducers due to the prohibitive cost of the equipment along with the unavailability of the required “master disc” to make newly pressed discs.
Solution 1: Any laser-based console should be routinely cleaned. Be sure that your CD-ROM drive is free of dust and debris. Next, using a microfiber cloth or q-tip, clean the compartment and laser itself using rubbing alcohol. Be careful not to press too hard on the laser lens. Any dust or smudges can interfere with reading game discs.
Solution 2: The first step that might fix this problem is re-calibrating the laser. This involves opening the hardware and using a screwdriver to increase the potentiometer (known as a “POT”) to increase the intensity of the laser (think; “power”). This is a short-term solution but can get some more life out of the hardware before the laser completely fails. This is not full-proof and you’ll want to watch a tutorial on Youtube to make sure you do this correctly, but it’s not overly complicated and can be accomplished by most users.
Solution 3: The ultimate solution is to replace the laser pickup unit itself. Additionally, given the age of the hardware, capacitors may need replaced as well and is highly recommended. Eventually, if gone unreplaced, the capacitors will begin to leak which can cause irreparable harm to the hardware. For this solution, we recommend sending your console off to a repair service.
Why does my Sega CD not read games anymore but still powers on and spins the disc?
This can be cause by several issues. The most likely cause is your laser has gotten weak enough to require re-calibration or outright replacement. However, basic maintenance might help so that is always the first place to start.
Solution 1: Any laser-based console should be routinely cleaned. Be sure that your CD-ROM drive is free of dust and debris. Next, using a microfiber cloth or q-tip, clean the compartment and laser itself using rubbing alcohol. Be careful not to press too hard on the laser lens. Any dust or smudges can interfere with reading game discs.
Solution 2: The first step that might fix this problem is re-calibrating the laser. This involves opening the hardware and using a screwdriver to increase the potentiometer (known as a “POT”) to increase the intensity of the laser (think; “power”). This is a short-term solution but can get some more life out of the hardware before the laser completely fails. This is not full-proof and you’ll want to watch a tutorial on Youtube to make sure you do this correctly, but it’s not overly complicated and can be accomplished by most users.
Solution 3: The ultimate solution is to replace the laser pickup unit itself. Additionally, given the age of the hardware, capacitors may need replaced as well and is highly recommended. Eventually, if gone unreplaced, the capacitors will begin to leak which can cause irreparable harm to the hardware. For this solution, we recommend sending your console off to a repair service.
Why does my Sega CD not read games anymore and no longer spins the disc?
This can be cause by several issues. Several issues can cause this including failed capacitors, power supply, or laser pickup.
Solution: Due to the complexity of this issue, we recommend sending your unit to a reputable repair service for troubleshooting and repair.
Final Thoughts
The Sega CD is wonderful and truly underrated hardware. However, age catches up to all electronics no matter how good the quality and how well it was cared for. Keep this in mind when troubleshooting your system and if dealing with a repro shop.